Enabling additional Wordpress Azure websites to reuse existing MySQL database
This tutorial has been deprecated. Please check the wiki for setting up Wordpress with the new Azure App Service.
It’s super simple to create your first Wordpress blog using Microsoft Azure Websites Gallery. Getting this all up and running is extremely fast. I’ve uploaded a short video and blog post showing how to setup up a Wordpress site in Azure in only a couple of minutes.
But what if you want to create a second Wordpress Azure website while reusing your existing MySQL database from the first one?

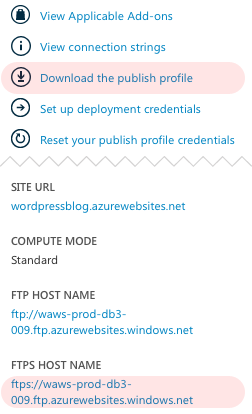
Initially when I load up the ‘*.azure-websites.net’ URL I just get a blank page (which is PHP’s quiet way of letting you know something needs fixed). When you reuse the existing MySQL database then you going to need to tweak one setting in the Wordpress configuration file (wp-config.php). To modify this config file you will need to grab your FTP settings in your Azure website dashboard.

Download the publish profile to get your FTP username and password. Open this file in an XML text editor to locate the ‘userName’ and ‘userPass’ values which are located just after the ‘ftpPassiveMode’ attribute.
Once you FTP in, navigate to site/wwwroot/ and edit the wp-config.php file (you may wish to download a backup first). Then change the ‘table_prefix’ value (line no. 62) from:
$table_prefix = 'wp_';
to something like:
$table_prefix = 'wp2_';
You should now be able to navigate to your website URL ‘*.azure-websites.net/wp-admin/’ to complete the Wordpress setup.
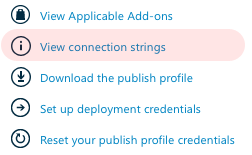
Also, if you want to see what this looks like in your database just open up a MySQL client to check the new Wordpress tables added using the connection settings available in your Azure Websites dashboard.
